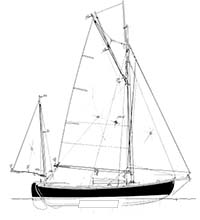
 Sojourn, a Sjogin IIIa
2020
It is winter, work in the boat shed is limited (cold!) so I'm looking for projects to do in my heated shop. I glued up some black locust and started carving the bowsprit. Felt good to making shavings even though I won't be needing it for a while.
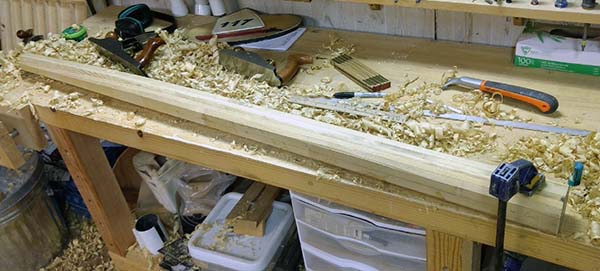
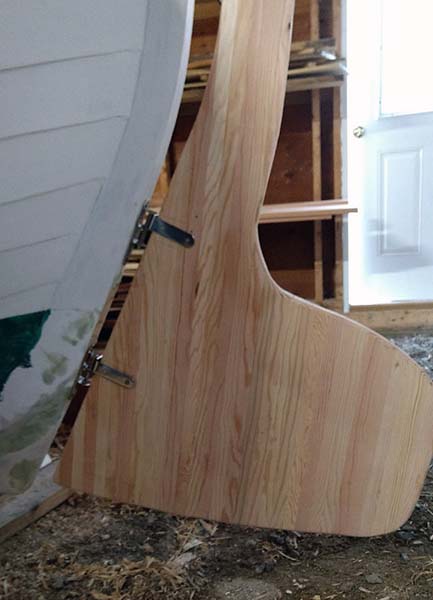
Another winter project and a part that I won't need for a bit is the rudder. I opted for VG Doug Fir, rather than plywood, stronger and more fun to work with. I ripped it and alternated the strips. Then got after it with a power planer and 40grit beltsander...fun!
Aft end will be tapered, fwd, rounded over, then glassed. I'm letting the top stay wild for now.
It's another stray from Paul's plans as he had a drop down but I'm opting for simplicity and no moving parts. We'll see....
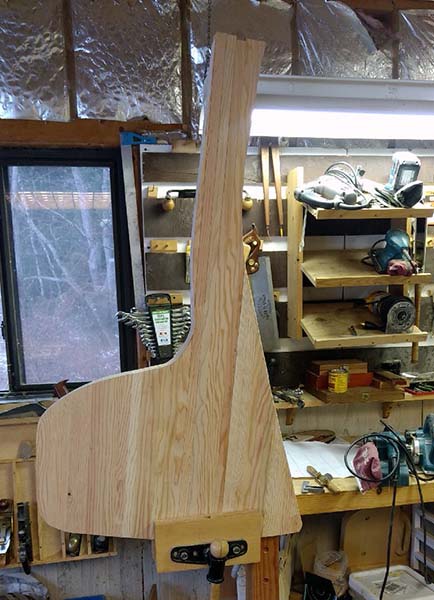
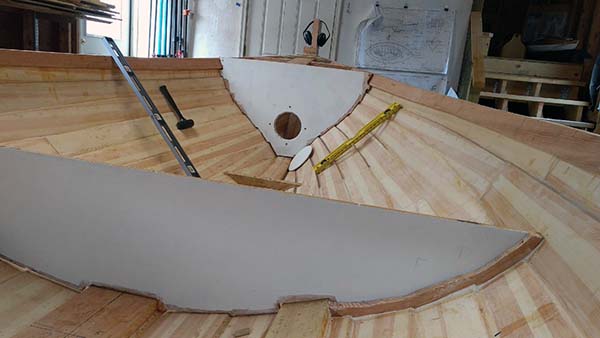
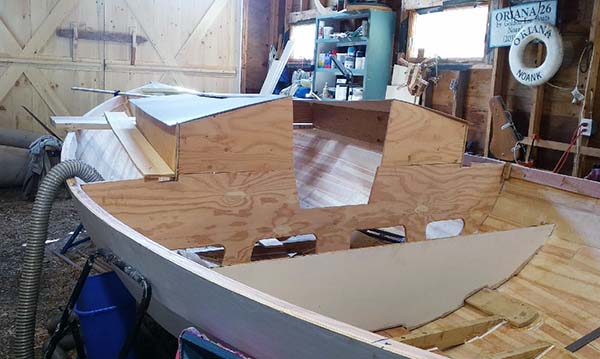
Bridge deck bulkhead, fitted.
The camera angle exaggerates the beam somewhat.
I'm using 3/4" marine DF ply, covered with epoxy and 4oz glass to keep from checking. Mouse over to see how it will be attached.
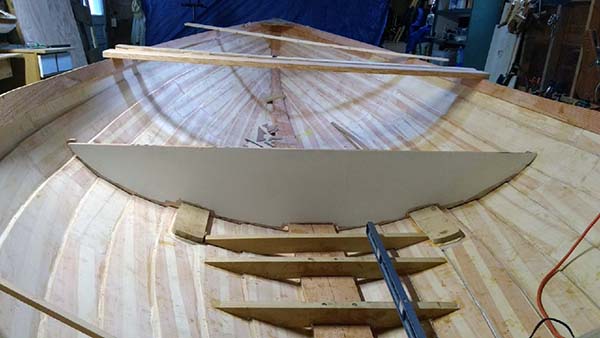
Rudder sort of in place. I can see it needs more shaping. I calculate it at 15% of the lateral area with 10% being ideal so it can be trimmed some. Won't find out for many moons how it will work.
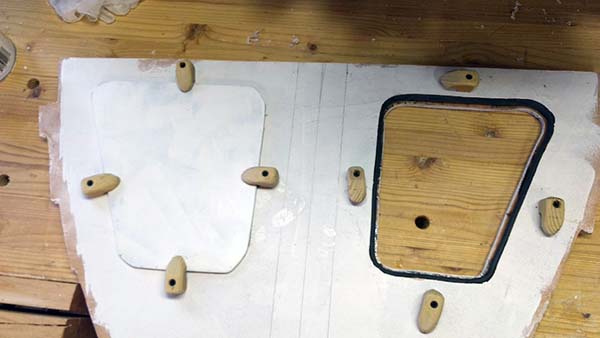
Working on the hatches, hopefully watertight, for the forward bulkhead. Paul doesn't think watertight compartments are needed in this size boat. David does, so I'll put a couple in, can only help, plus I've never built them before.
I routed a rabbit to fit a rubber gasket. While there are more elegant ways to seal I opted for simple black locust dogs to keep the water on the other side...if needed.
There are 2 hatches as there will be a sampson post in the middle.
March 2020
First 2 deck beams are installed aft, with a king plank. Need to get better at mortising and fitting the beams! The aft bulkhead is tacked in place. It will (should) be watertight and have a gasketed access plate. Waiting for warmer temps to continue.
April 2020
Watertight bulkheads installed fore and aft, inside epoxied, primed and painted. Won't be having much access to those areas once the deck is on.
All of the floors are installed, lag bolted and filleted. Most of the main cabin bulkhead is fitted along with the bridge deck. I've been messing around with a cabin side mock up, it's going to be snug.
I plan to glass and epoxy the bilge. This part is not a lot of fun.
Fitting a cabin on what was designed as an open daysailer is yet another challenge that I've done to myself. Here is a very crude mock up. I can just fit sitting, while Susan has plenty of room. I will add an inch to the camber and hope it doesn't look too boxy.
I will epoxy, glass, prime and paint the main cabin bulkhead. It will get installed after the interior has been epoxied.
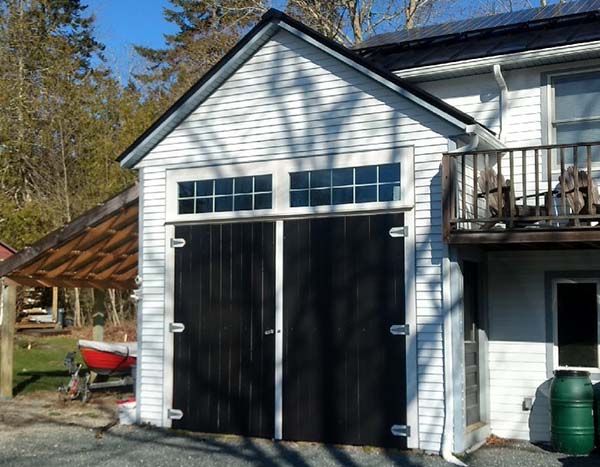
Let the light in! These windows are a nice modification to the boatshed as that end was poorly lit.
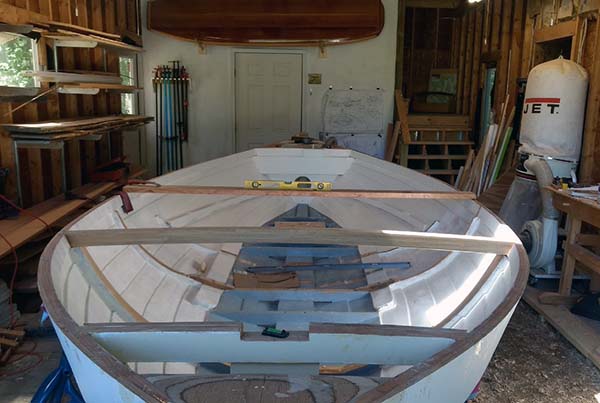
Mouse over for an interior view. All the frames are in, now the interior needs to be sanded, again, the bilge glassed and the entire interior epoxied.
I'm waiting on the bilge keels before installing the bulkheads.
May 2020
Spring is here and with stay at home pandemic restrictions there in no excuse not to make progress. Here the interior has 2 coats of epoxy, stbd side primed, bilge fiberglassed (10oz) and one coat of epoxy bilge paint.


June 2020
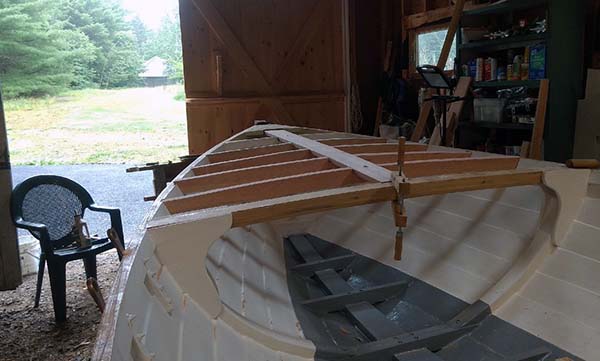
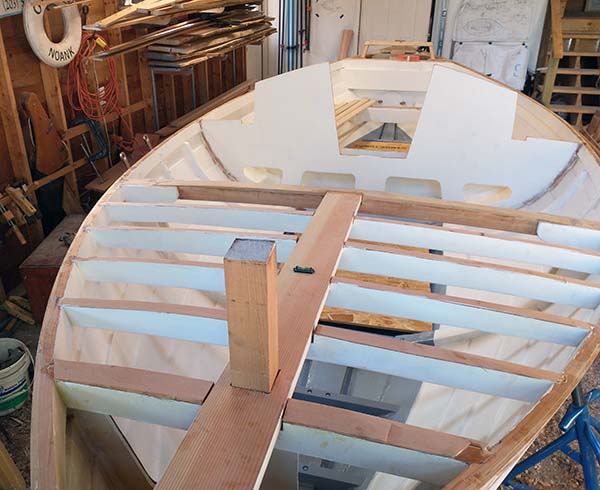
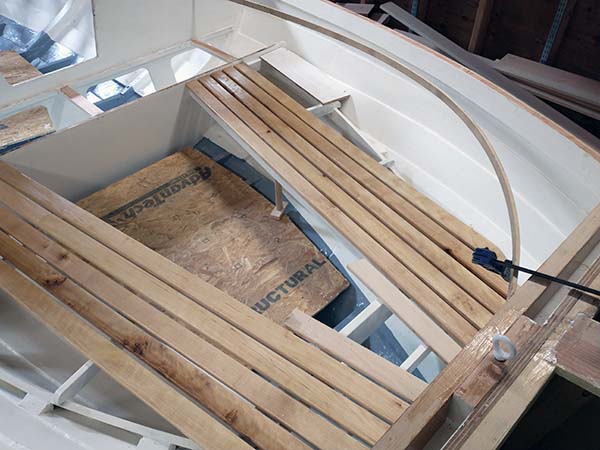
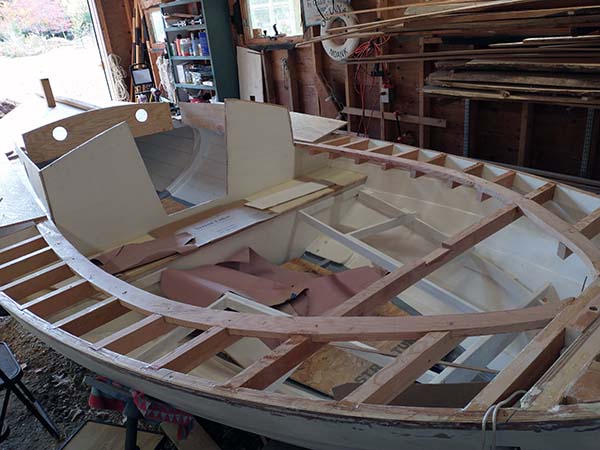
May not look like it but a lot going on here. First the deck beam, 2 1/2x3 laminated BL is in place. Knees will tie it to the frames below.
Toward the stern, seat risers were wrestled in place. It took some head scratching and force to get those installed. Not pretty but should be functional.
The box at the aft bulkhead holds the outboard bracket which pulls out.
Adding that watertight bulkhead meant the seating had to be redesigned. I'm waiting on the bilge keels before continuing with that project. .
Forward deck beams and kingplank fitted, hanging knees, 2 each side, 3/4 marine ply, glassed. bronze chainplaates installed.
Those beams are actually the second set as I ran into another amateur goof up. Don't ask. But that is a moaning chair which was well used yesterday.
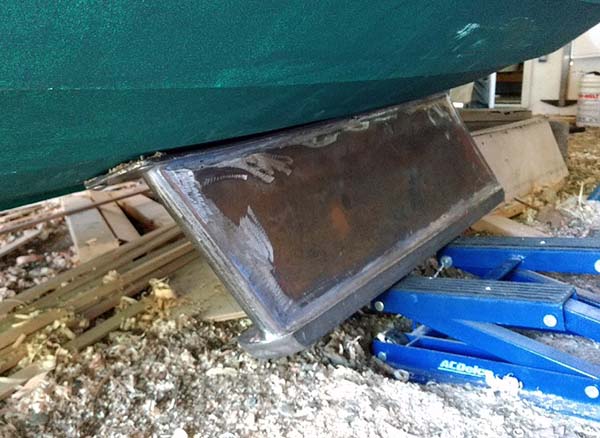
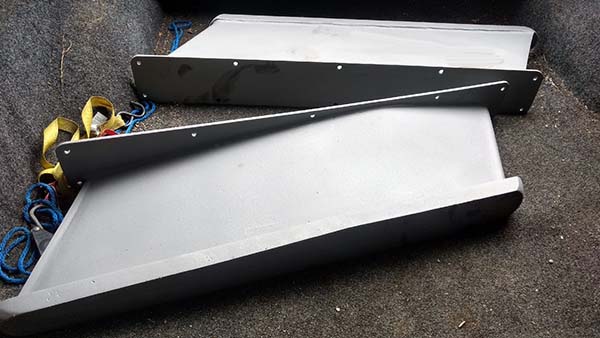
Bilge keels back from being sandblasted, then primed with many coats of TotalBoat TotalProtect 2 part epoxy.
I bought the cherry picker last year knowing I'd be loading/unloading/moving these hunks of steel and lead. I weighed the keels at the transfer station, 180# each. We has guesstimated #200.
Since we are planning on 600# total ballast, I should be fine as I have another 300# I can use internally.
July 2020
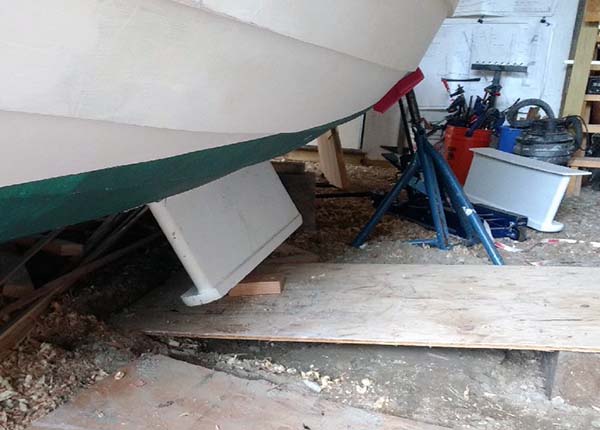
Finally got one on the boat! I was about to give up, lining 10 bolt holes while juggling the weight at weird angles with little clearance was pushing my limits. I was uncomfortable doing too much as these were rather essential to project.
I called Brion Rieff asking for help. He promptly showed the next day and said I was doing fine, try enlarging the holes then fill with epoxy. That did it, now one more to go and I can get back to building the rest of this boat.
August 2020
Finally got the keels installed, flooded the hull and got a 95% on the leak test, 1 of the 20 bolts leaked. I regooped that and hope that does it. I plan to get it on a trailer and do an in water test before winter this year.
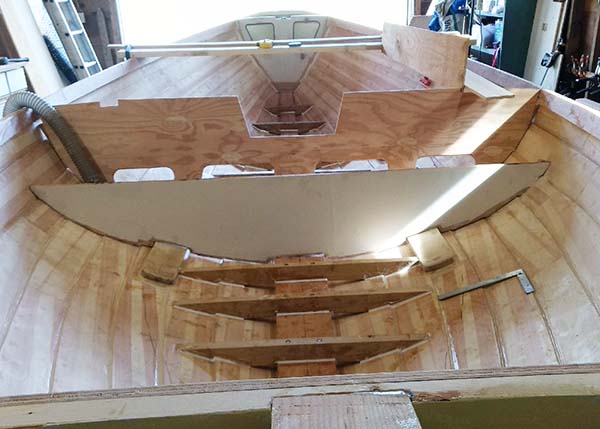
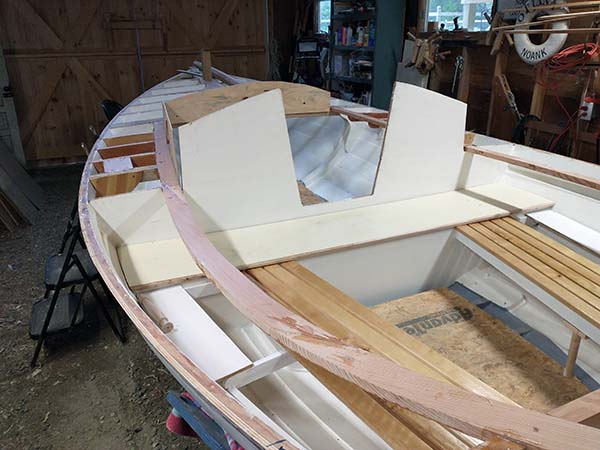
Here you can see the interior has been mostly painted and the cabin bulkhead installed.
Looking forward the bridge deck and cabin bulkheads are installed and I'm messing with the cockpit seating. Since I added a watertight bulkhead I have to allow access to it so there will be a removable section. I need to get my shop back in order to make the removable part.
I'm using yellow birch for the seats, because I have it, and it was a common boat building wood used back when.
I've sprung a batten to get a feel of what's ahead, cutting a 3" carlin, and eventually steaming wood for the coaming.
September 2020
Finally got the carlin sawn and installed. 10 degree bevel for the coamings, -2 for the cabin sides.
Installed the deck beams along the cabin, much easier than full width. And now working on the cabin mock up. After many alterations I'll probably go with how Paul drew the cabin for Sjogin II.
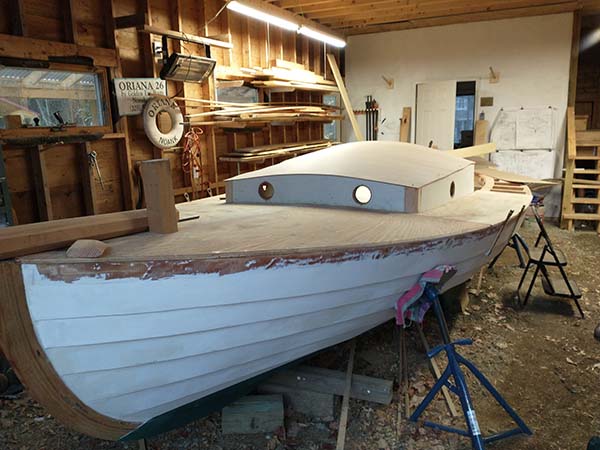
It's getting to be cabin time. Putting a cabin on what is supposed to be a 19' open daysailer is a challenge. But then again I've altered the plans so much...
After several mock ups I think this is it. I just about have sitting room depending how I sit. Susan is fine. The 2 ports forward give a semblance to the real Sjogin.
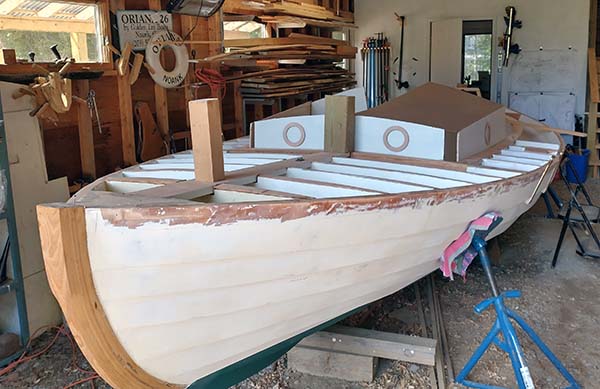
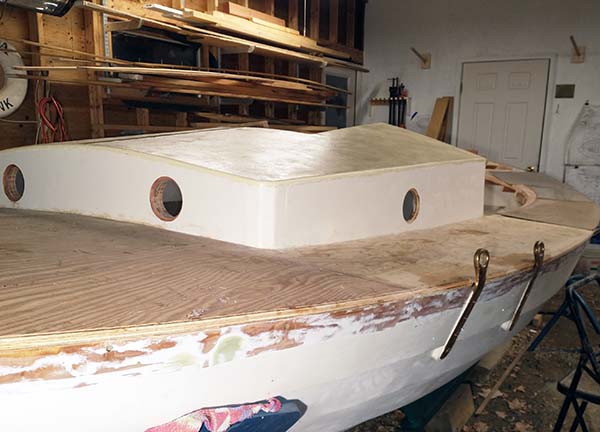
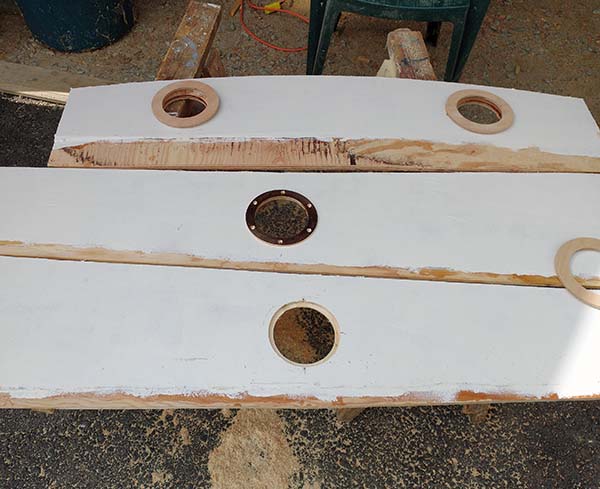
More holes in the boat. At least these are above the WL. Holes are routed and rabbeted to fit the bronze Duckworks ports.
The cabin sides will be doubled 3/8" marine ply and glassed. The front will be doubled 3/4" for added strength as the mast tabernacle will be affixed there.
Decking and corner posts are next, some finicky joinery.
I'm starting at the bow, because it far away from the curved coaming at the other end! Also I need the decking so I can get the cabin sides installed and then mess with the corner posts.
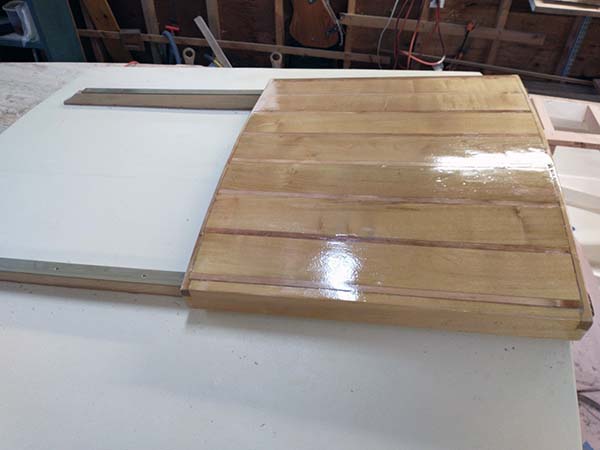
Much easier to paint the underside now. One coat of epoxy, primer, then Interlux Brightsides.
These sections were butted over the king plank.(mouse over)
18, count 'em, beams, each with 3 compound bevel cuts. By the time I was half way done I had it about figured out. Soon enough the fun will really start with the bent coaming.
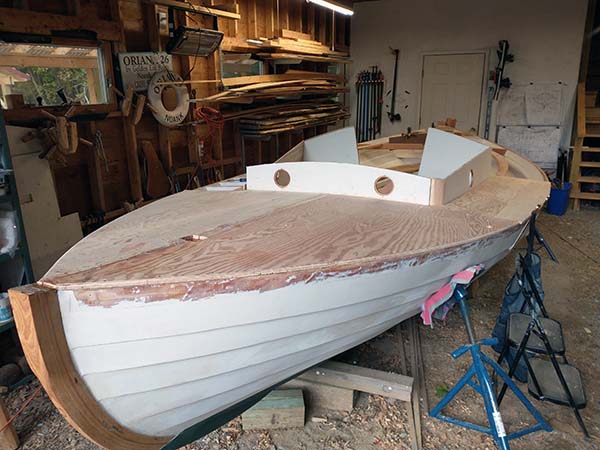
Cabin sides epoxied in place, sides and front get doubled. Still have to make the corner posts, then figure out the top and hatch.
November 2020
Cabin sides have been doubled, 2 3/4" ply, glassed, on the front, 3/8"+ 4 mm on the sides. Ports routed, corner posts roughed in, steamed beam over the aft bulkhead to help with cabin top.