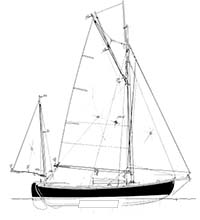
 Sojourn, a Sjogin IIIa
2019
January 2019
The small workshop out back has a wood stove and is sort of insulated. So if I can get the fire going in the AM by noon it can be quite comfortable.
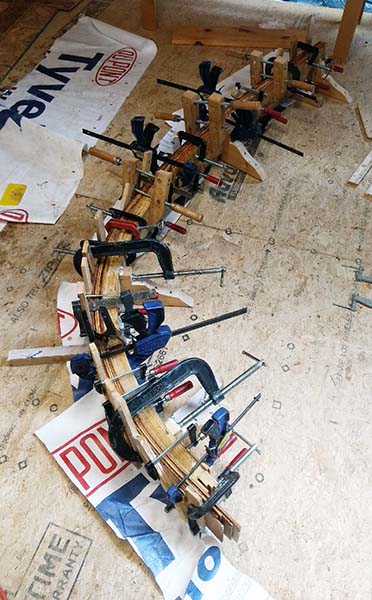
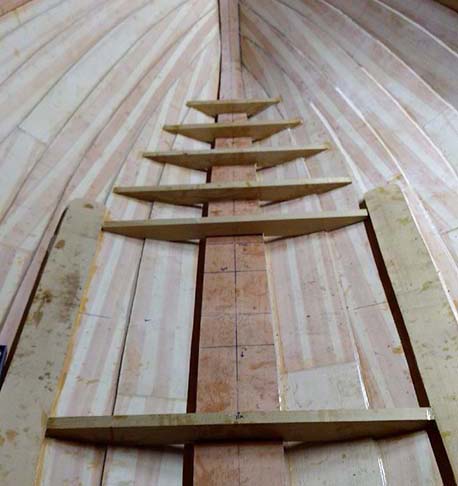
While this may look like spar making it is really an expensive and labor intensive way to make kindling. Not to mention trashing out the workshop.
On the horses will hopefully be the main boom, gaff and mizzen mast. The main mast will be 20' and birdsmouth. I will have to figure how to fit that in a shop that isn't much bigger than that.

May 2019
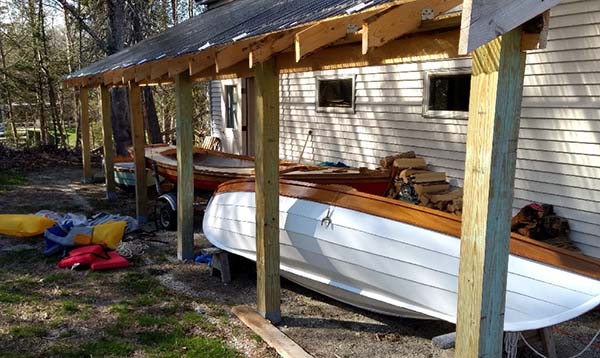
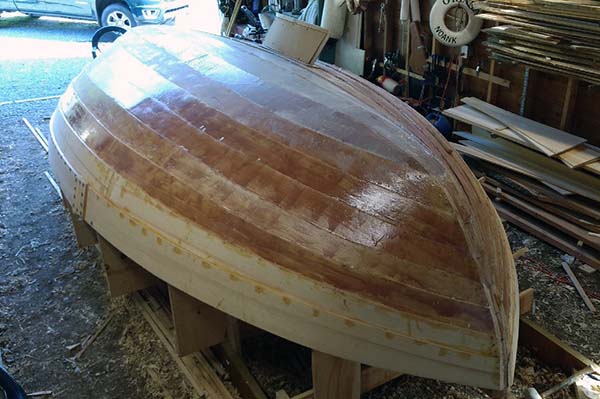
Ah, the smell of paint, some sunshine, and it's finally springtime in Maine. The fleet is uncovered, the peapod and skiff just got quick recoats. Rivus is going to need a bit more as the summer spent on the mooring took a toll on her brightwork. Should be getting back to planking the Sjogin soon.
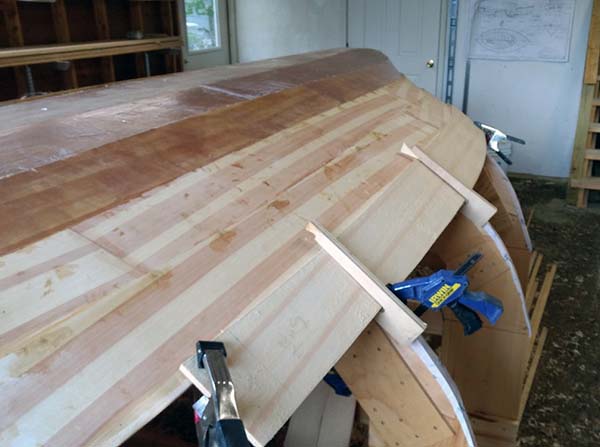
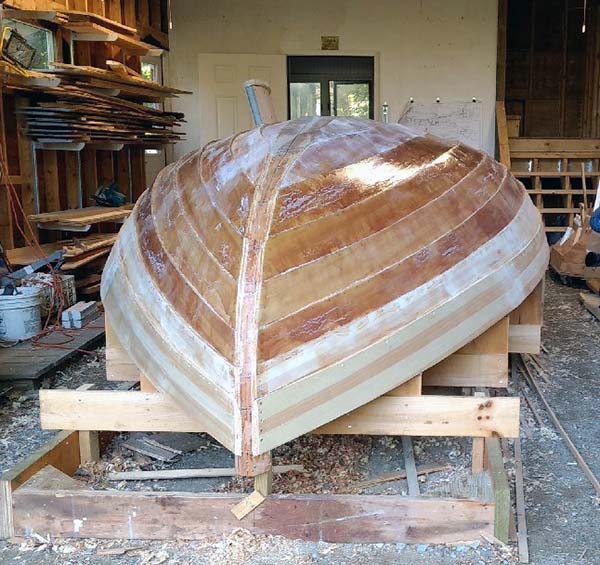
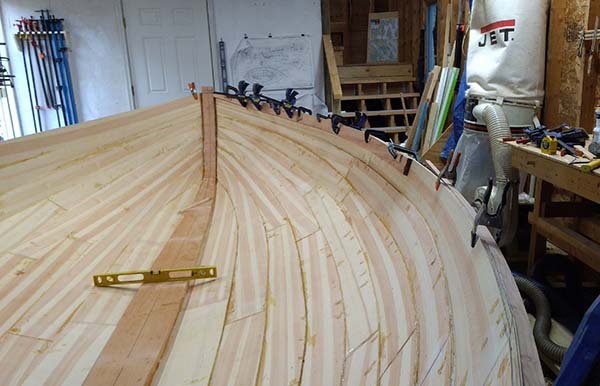
Plank on! 2 sections of plank #4. First progress since November. Notice the back of the shed is now enclosed and insulated thanks to nice BinL, Terry.
You come for a visit, you get put to work! Chris came for Alumni Week at WoodenBoat School. He got to warm up by helping get another plank on before reporting for school duty.
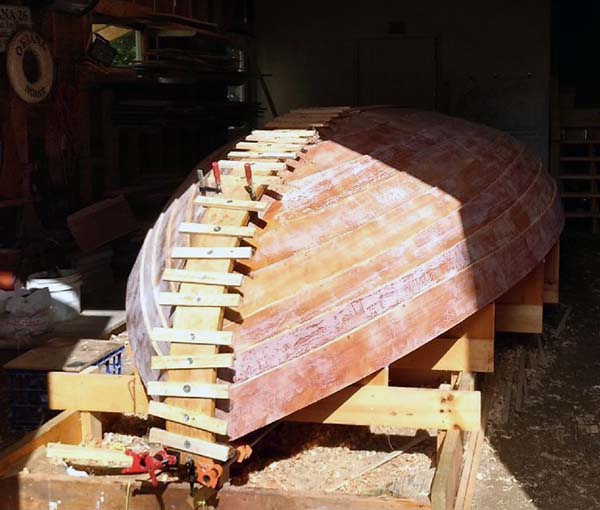
Now it's ready for the stems and keels. I'm discovering the joys of working with rough black locust and that it will be a challenge to find enough usable wood with all the imperfections inherit with BL.
Paul Gartside stopped by last week as he was teaching a class at WoodenBoat School. He offered some advice on the bilge keels and overall construction. He's nice enough not to laugh at my construction or pending modifications to his design.

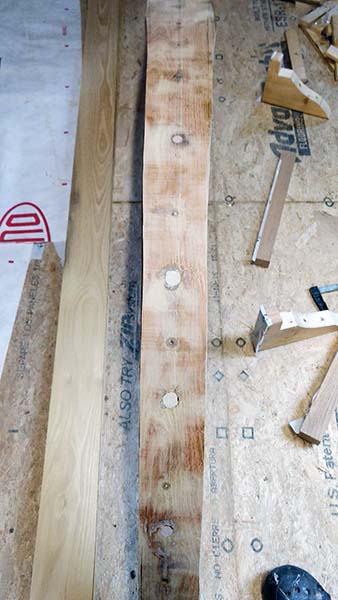
On to new stuff. Here is the 1st half of the outer stem being laminated in place. I better be able to remove it for shaping after it cures. It will be sided to 3", tapering from 3" at the sheer to 1 1/2" profile.
This is where I start deviating from Paul's plans as the keel doesn't need to accommodate a center board I'll make it 5" at the widest vs 9".
Calling all clamps. Outer lams of the stem glued to inner outer stem. I had planned to glue these in place but after the screw issue I made this reinforcing jig on the loft floor.
Next will be to dry fit in place then carve then reinstall, then do the same for the stern stem.
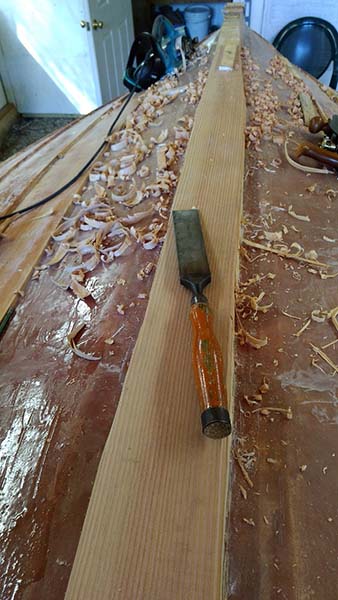
Here the outer stem has had a lot of wood removed and has been carved to close to its final shape.
I do like opening the shop in the AM and having the sun light up the project. Now to cut the scarf (mouse over) and get this epoxied. Then do something similar at the other pointed end.
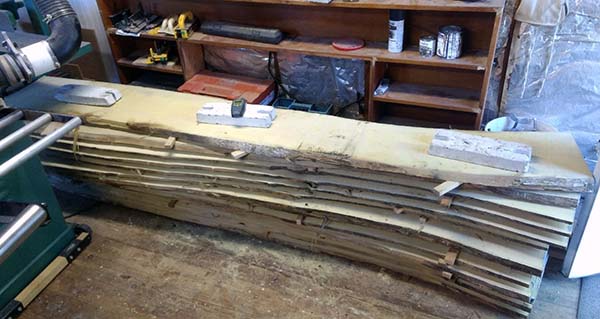
A new view, on top of the bottom! Thankfully Paul said it was fine to mix and match wood for the keel so I bought 12' VG DF from the local hardware store. That saved me days of milling and scarfing from my stack of BL.
There was probably an easier way to do this, but I didn't think of it, so I rough cut the planks then got out the slick and carved them in place.
Keel is in place covered with Dynel and 3 coats of epoxy. No exterior wood, other than BL will be exposed. Docks should quake in fear!
Here I'm doing an experiment with peel ply on one strake to compare to see if it's worth the effort.
(didn't like the results of the peel ply, too much work and didn't save me the sanding. Could be my technique.)
With a mouse over you can see a reminder to myself that I used BL pegs to help secure the keel. I know I would not recall that. You can also see the sternpost starting to grow a skeg.
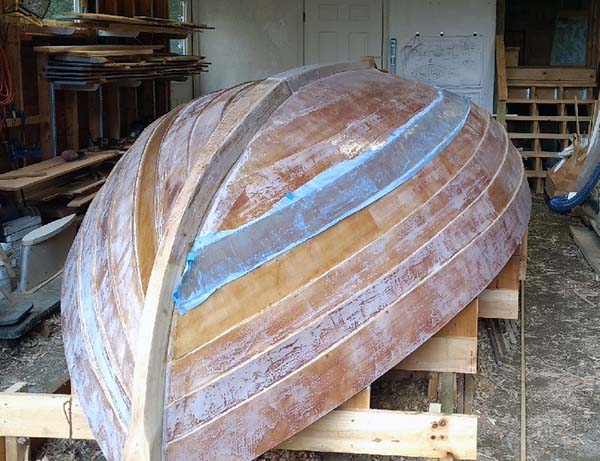
Sanding! Glad that's over...maybe not, but I'm not going to keep track of how many times. You can see the paint line which I drew with help from the new laser level that just arrived. It will be interesting to see how close to reality it comes.
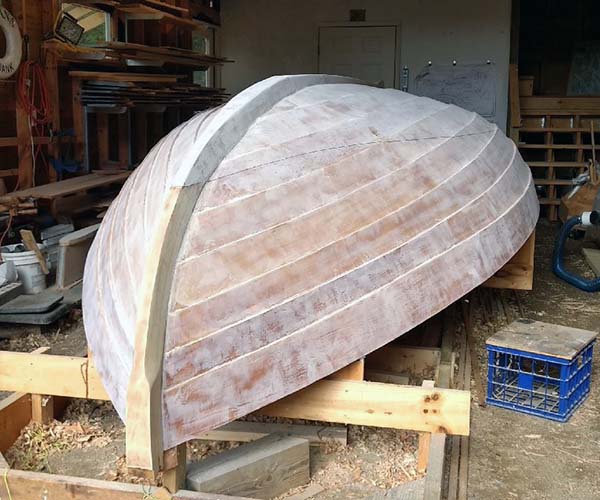
The keel, stem and sternpost are now Dyneled and epoxied to the paint line. More sanding and primer next.
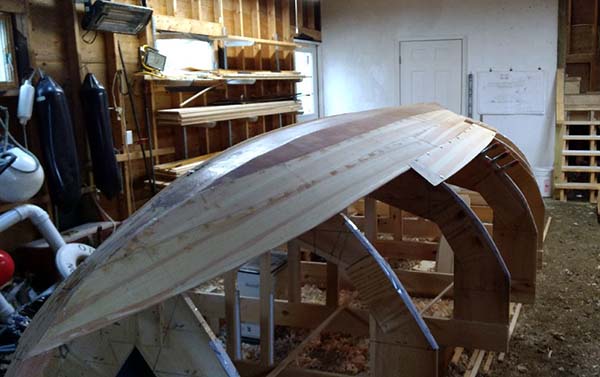
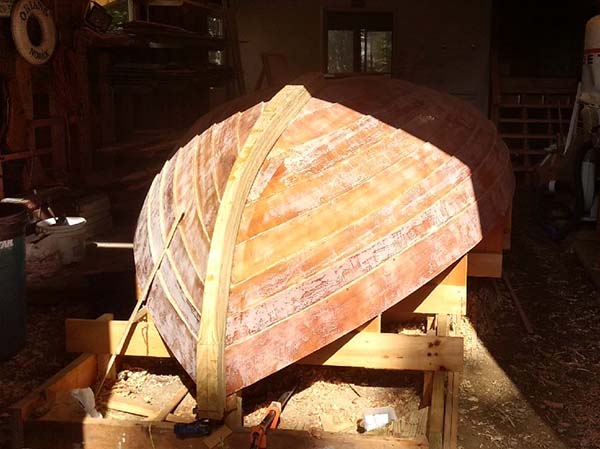
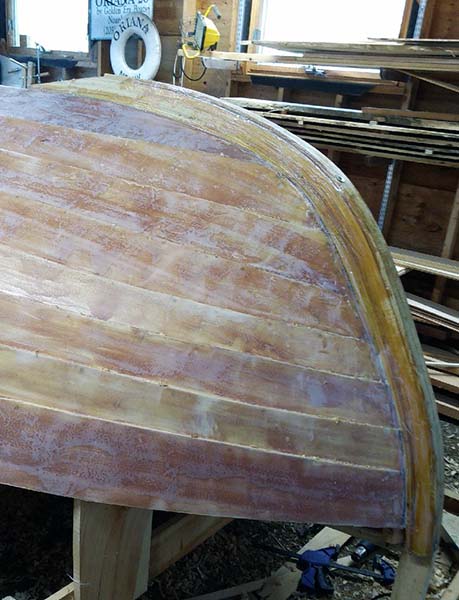
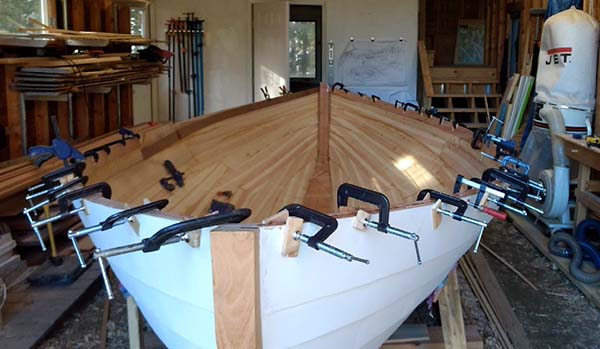
Started removing the molds and for the first time got to see the big interior. Looking forward to getting to work on that.
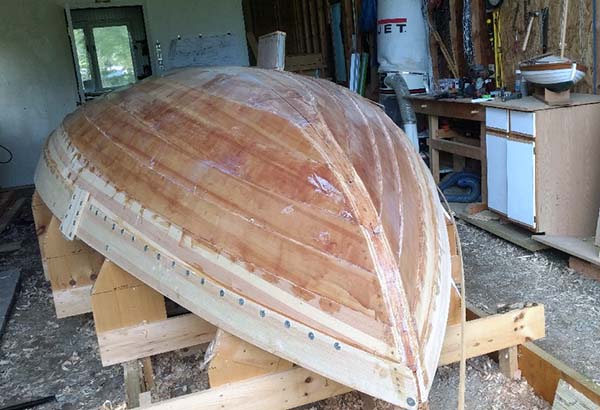
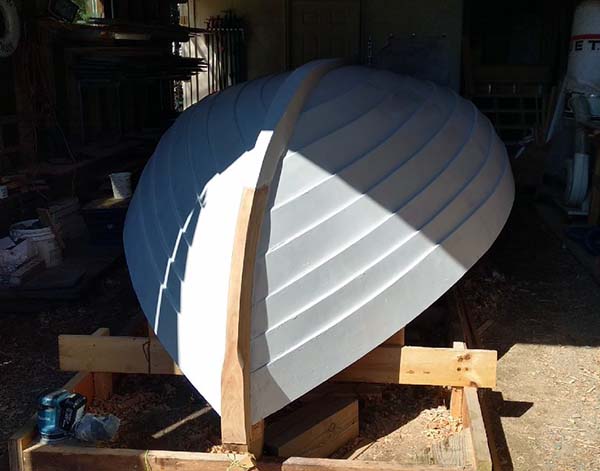
Progress, as a few coats of Total Boat Total Protect changes the look considerably.
Mouse over to see other pointy end with a skeg. It's not in the plans but it will provide a 3 point stand when grounding plus some directional stability. A piece of black locust is being added after David Wyman pointed out that the way I had it it would be catching lobster pots.
October 2019
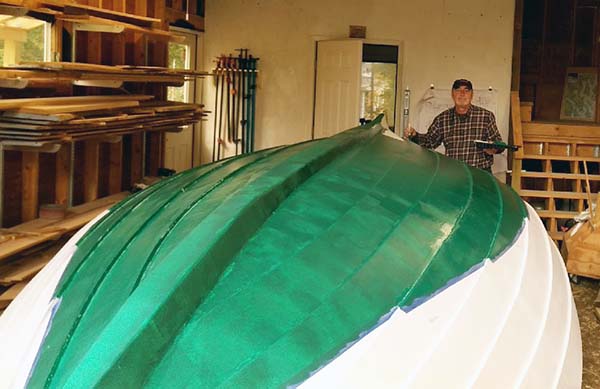
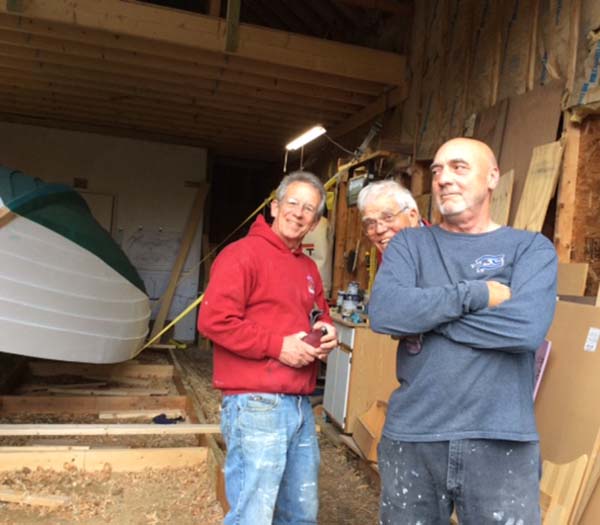
WoodenBoat friend, Pat Fanelli helps with the bottom paint.
Big Day!
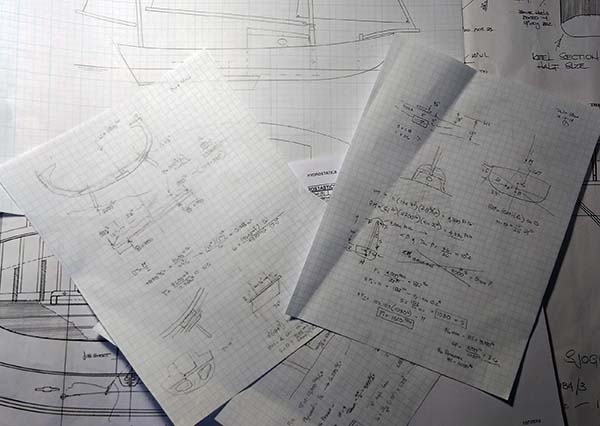
We're doing it, we think. At least we got it up at this point. Pat never had a doubt. David Wyman loves engineering and calculating stuff. Me, I'm hoping I don't have to start all over again.
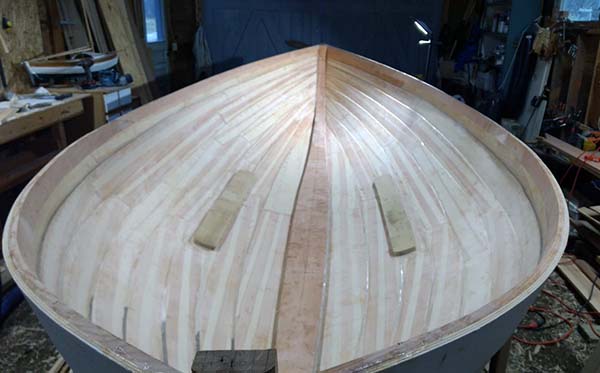
With the guidance of David and help of Pat and Susan we get a new view. And what an interior, this is a big little boat.
I'm not going to estimate how long it will take to scrape, fillet and finish it.
Racing the season here, trying to get as much done before the temps drop. Got the interior laps filleted, then a lot of scraping and sanding. I used one tube of Thixo, the dark fillets, port side, aft. But you can see it would have taken a lot of tubes so I made my own with a microballoon, wood dust and silica mix.
1" laminated black locust bilge keel stringers, or pads, in place. They will be captured by the cabin and bridge deck bulkheads, and BL floors.
Progress in November! Got some decent temps and managed to get half of the black locust floors installed and glued!
Mouse over to see how I used the WoodenBoat method of hot gluing small pieces of scrap to get the shape. Works pretty good.
Spent a nice Saturday morning at David Wyman's. We, he, did some serious number crunching trying to keep me honest with all the modifications to Paul's plans.
I had several semesters of naval engineering back at boat school, but somehow after 4+ decades and never having to use it, all those formulas are buried, probably lost.